Create a test webhook endpoint | Developer Documentation
Create a test webhook endpoint
Updated: Nov 7, 2025
If you aren’t ready to create your own webhook endpoint yet, you can deploy a test webhook app on Render.com that accepts webhook requests and dumps their contents to Render’s console.
Only use this app for testing purposes.
Requirements
Step 1: Create a GitHub repository
Sign into your GitHub account and create a new repo (public or private) with a name of your choice. Within the repo, create an
app.js file and paste this code into it:Step 2: Deploy a Node Express app on Render
Follow Render’s instructions for deploying a Node Express app, with these differences:
npm install expressStart command: node app.jsIn the Environment Variables section, add the variable VERIFY_TOKEN and set it to a string of your choice (e.g. vibecode).
When you’re done, click the Deploy your web service button. This will take you to the app log where you will see your app being built, which can take a few minutes. You’ll know it’s done when you see “Your service is live” in the log.
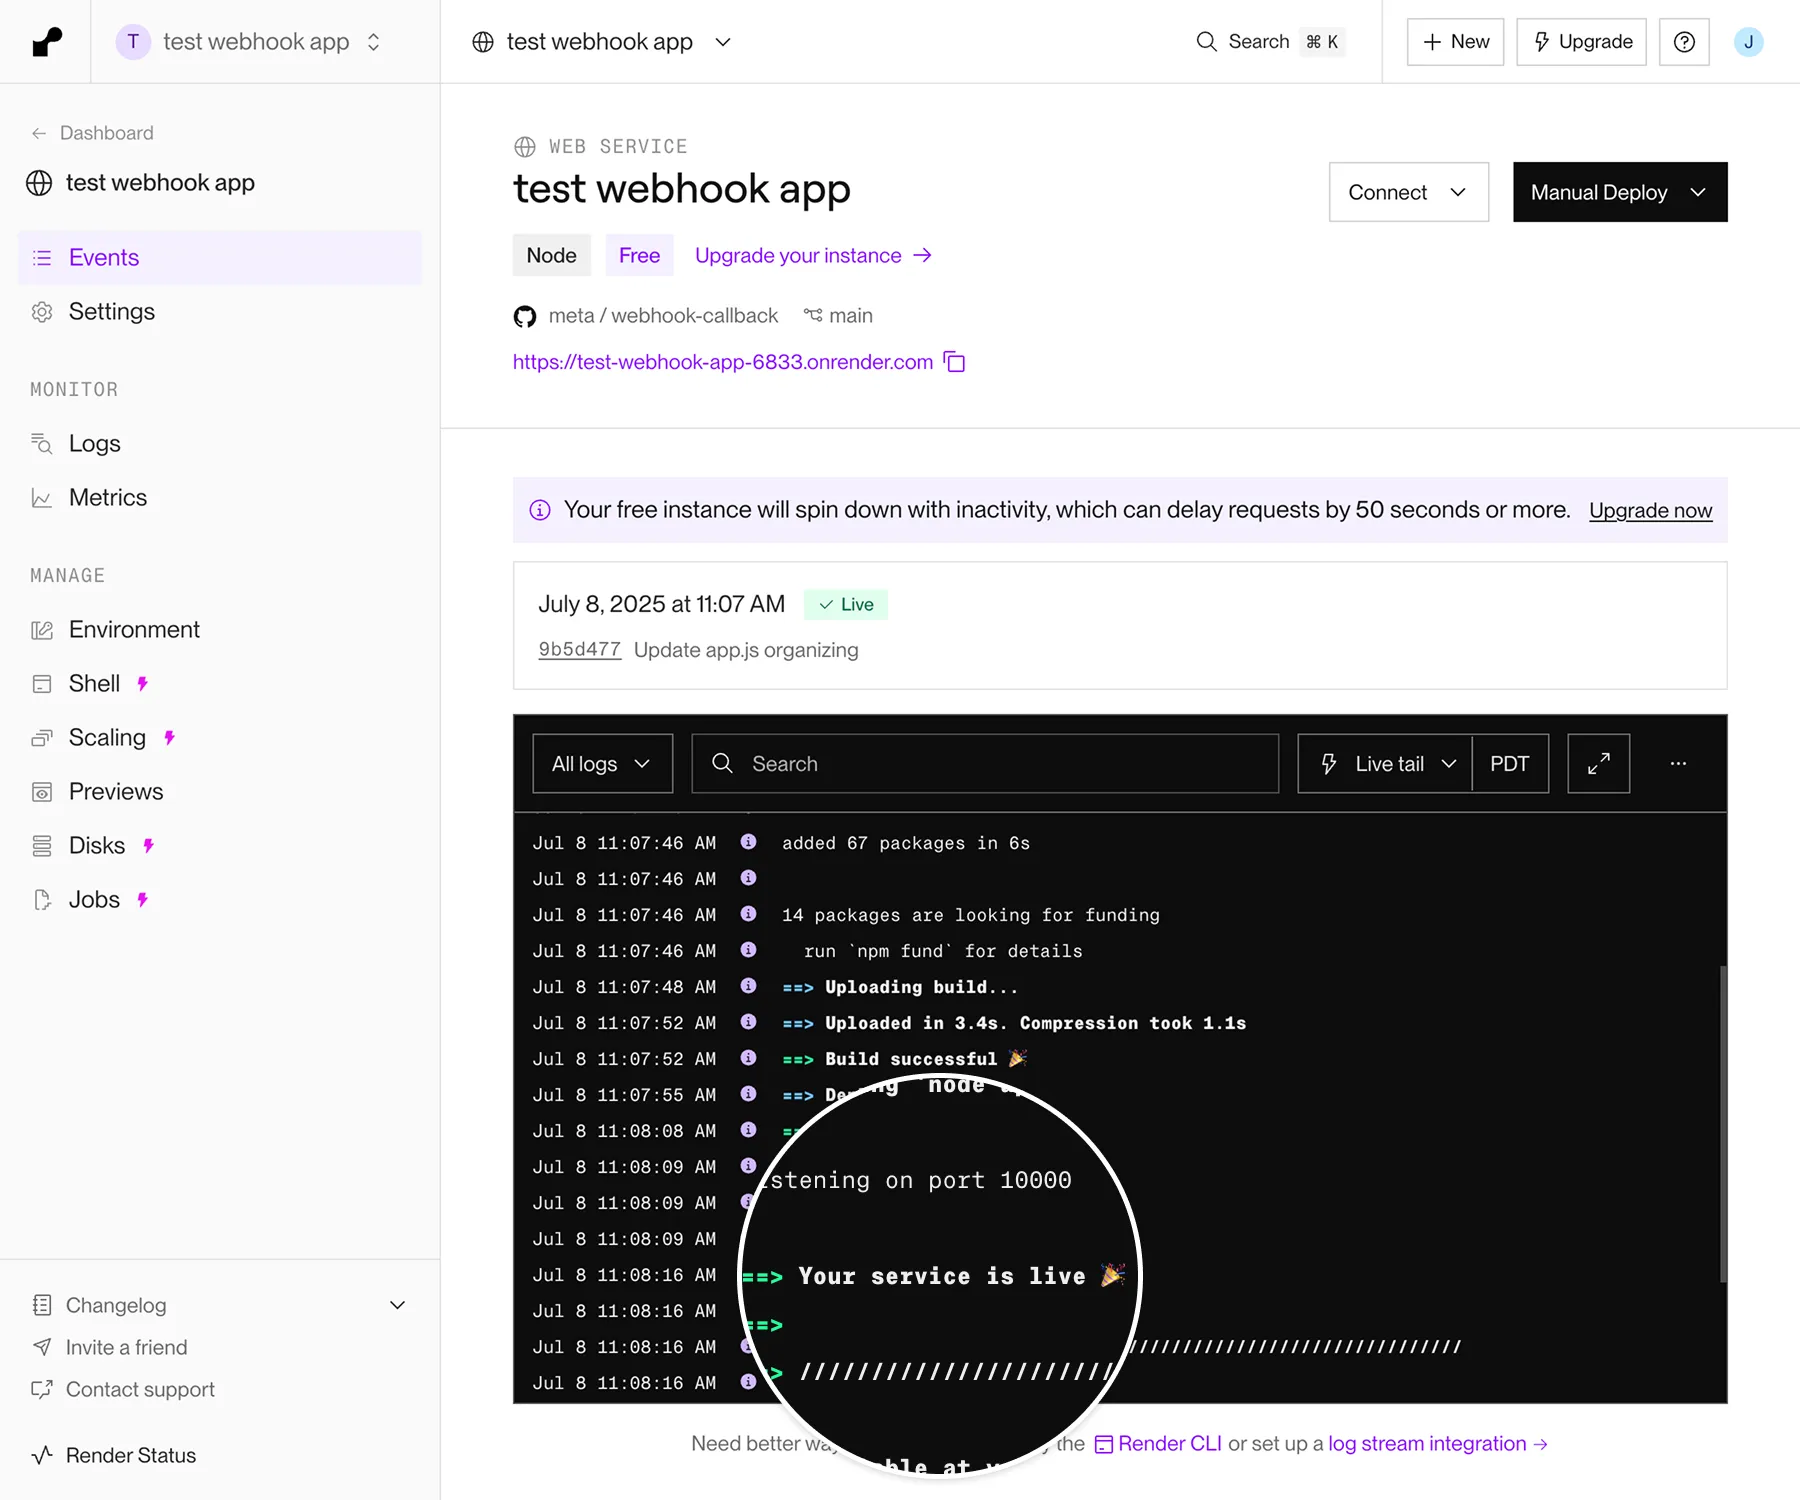
Copy your deployed test webhook app URL, which is displayed at the top of the page under your GitHub repo name. (If you view the URL, you’ll get a 403 error, which is expected).
Step 3: Add your test webhook app URL to your Meta app
Open a new window/tab, and navigate to the (Meta) App Dashboard > WhatsApp > Webhooks > Configuration panel.
Paste your test webhook app URL in the Callback URL field, and add the
VERIFY_TOKEN environment variable string you set earlier to the Verify token field, then click Verify and save.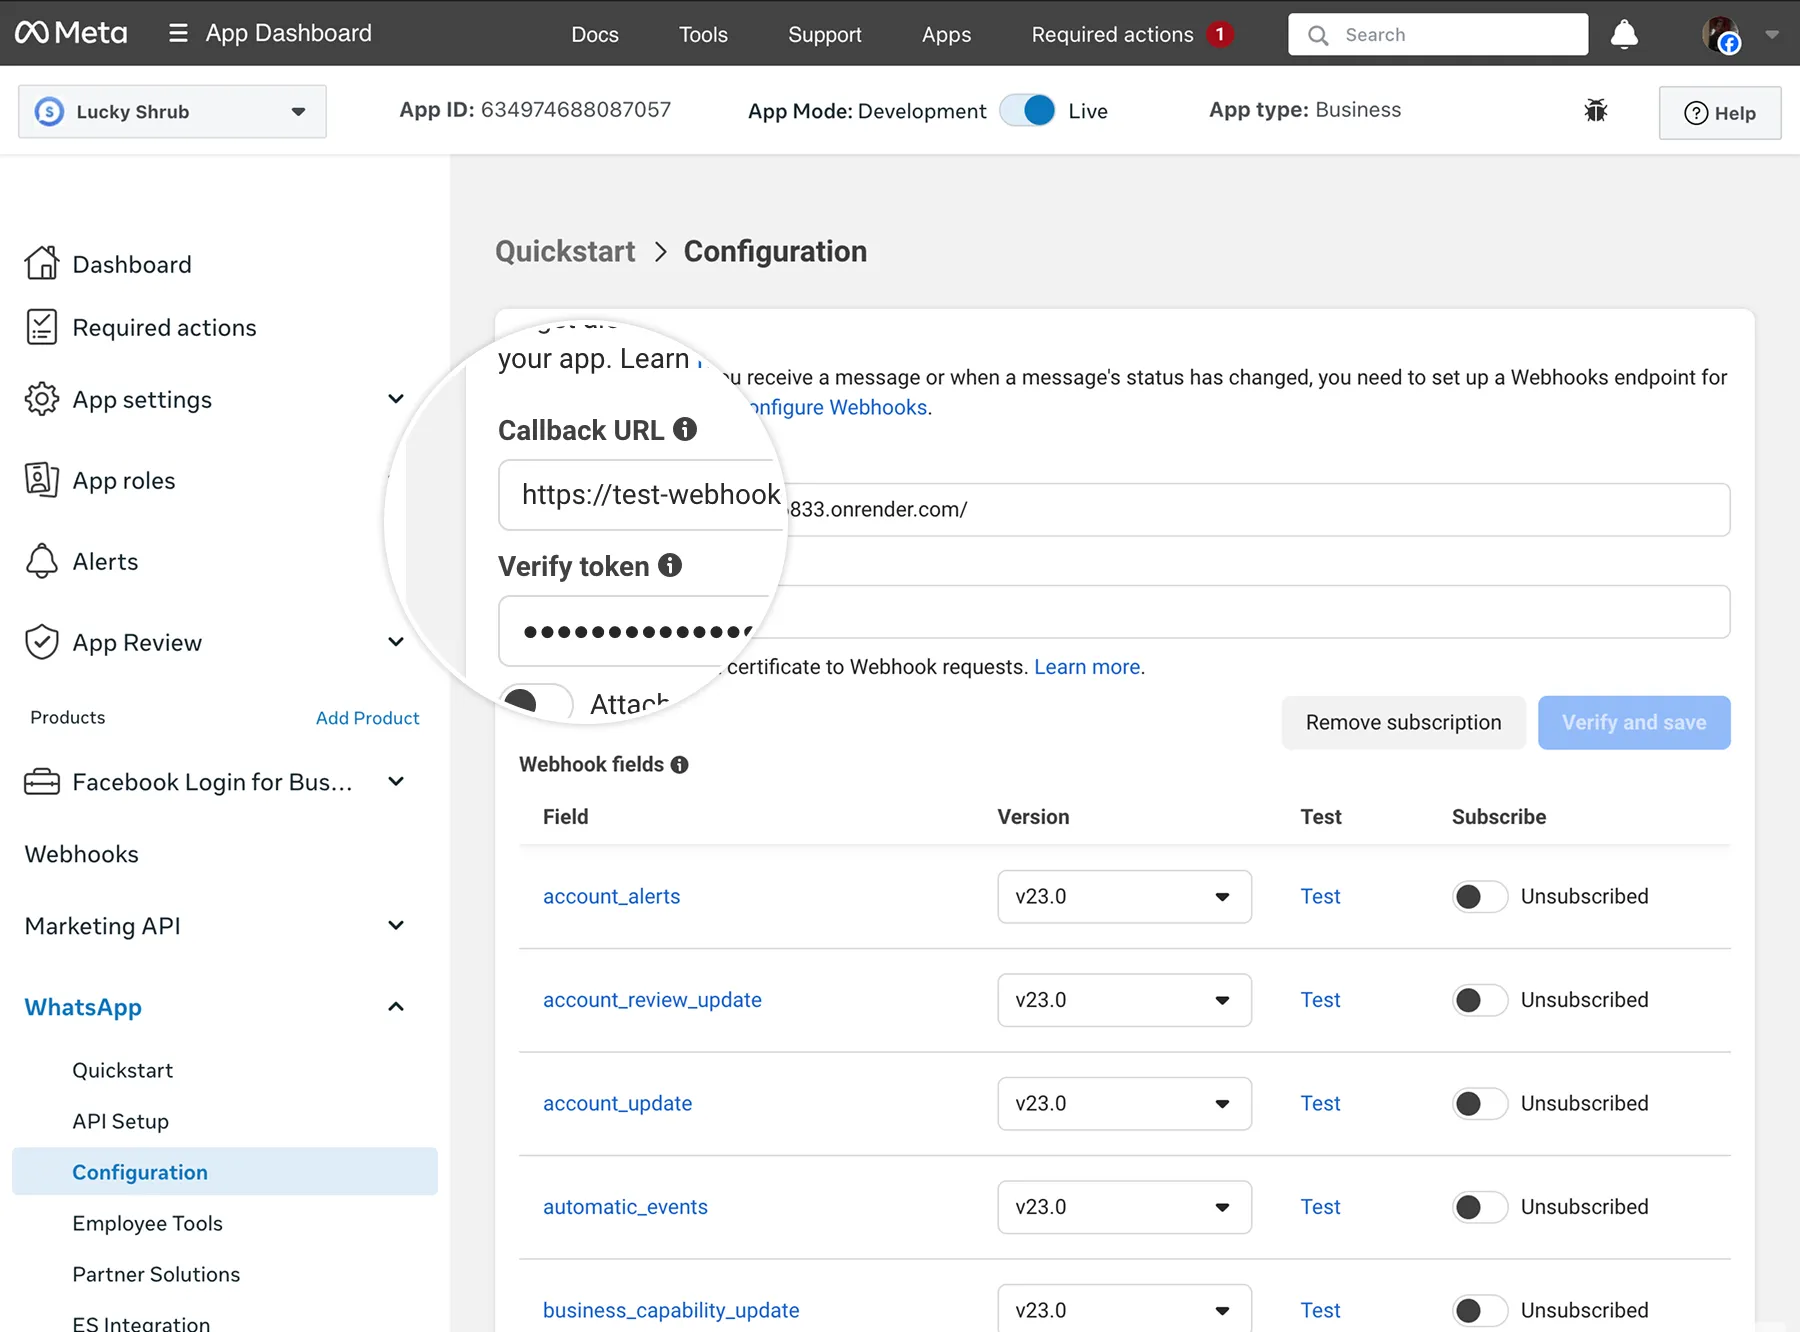
If verification is successful, the Meta app dashboard should refresh and you should see a list of webhook fields you can subscribe to.
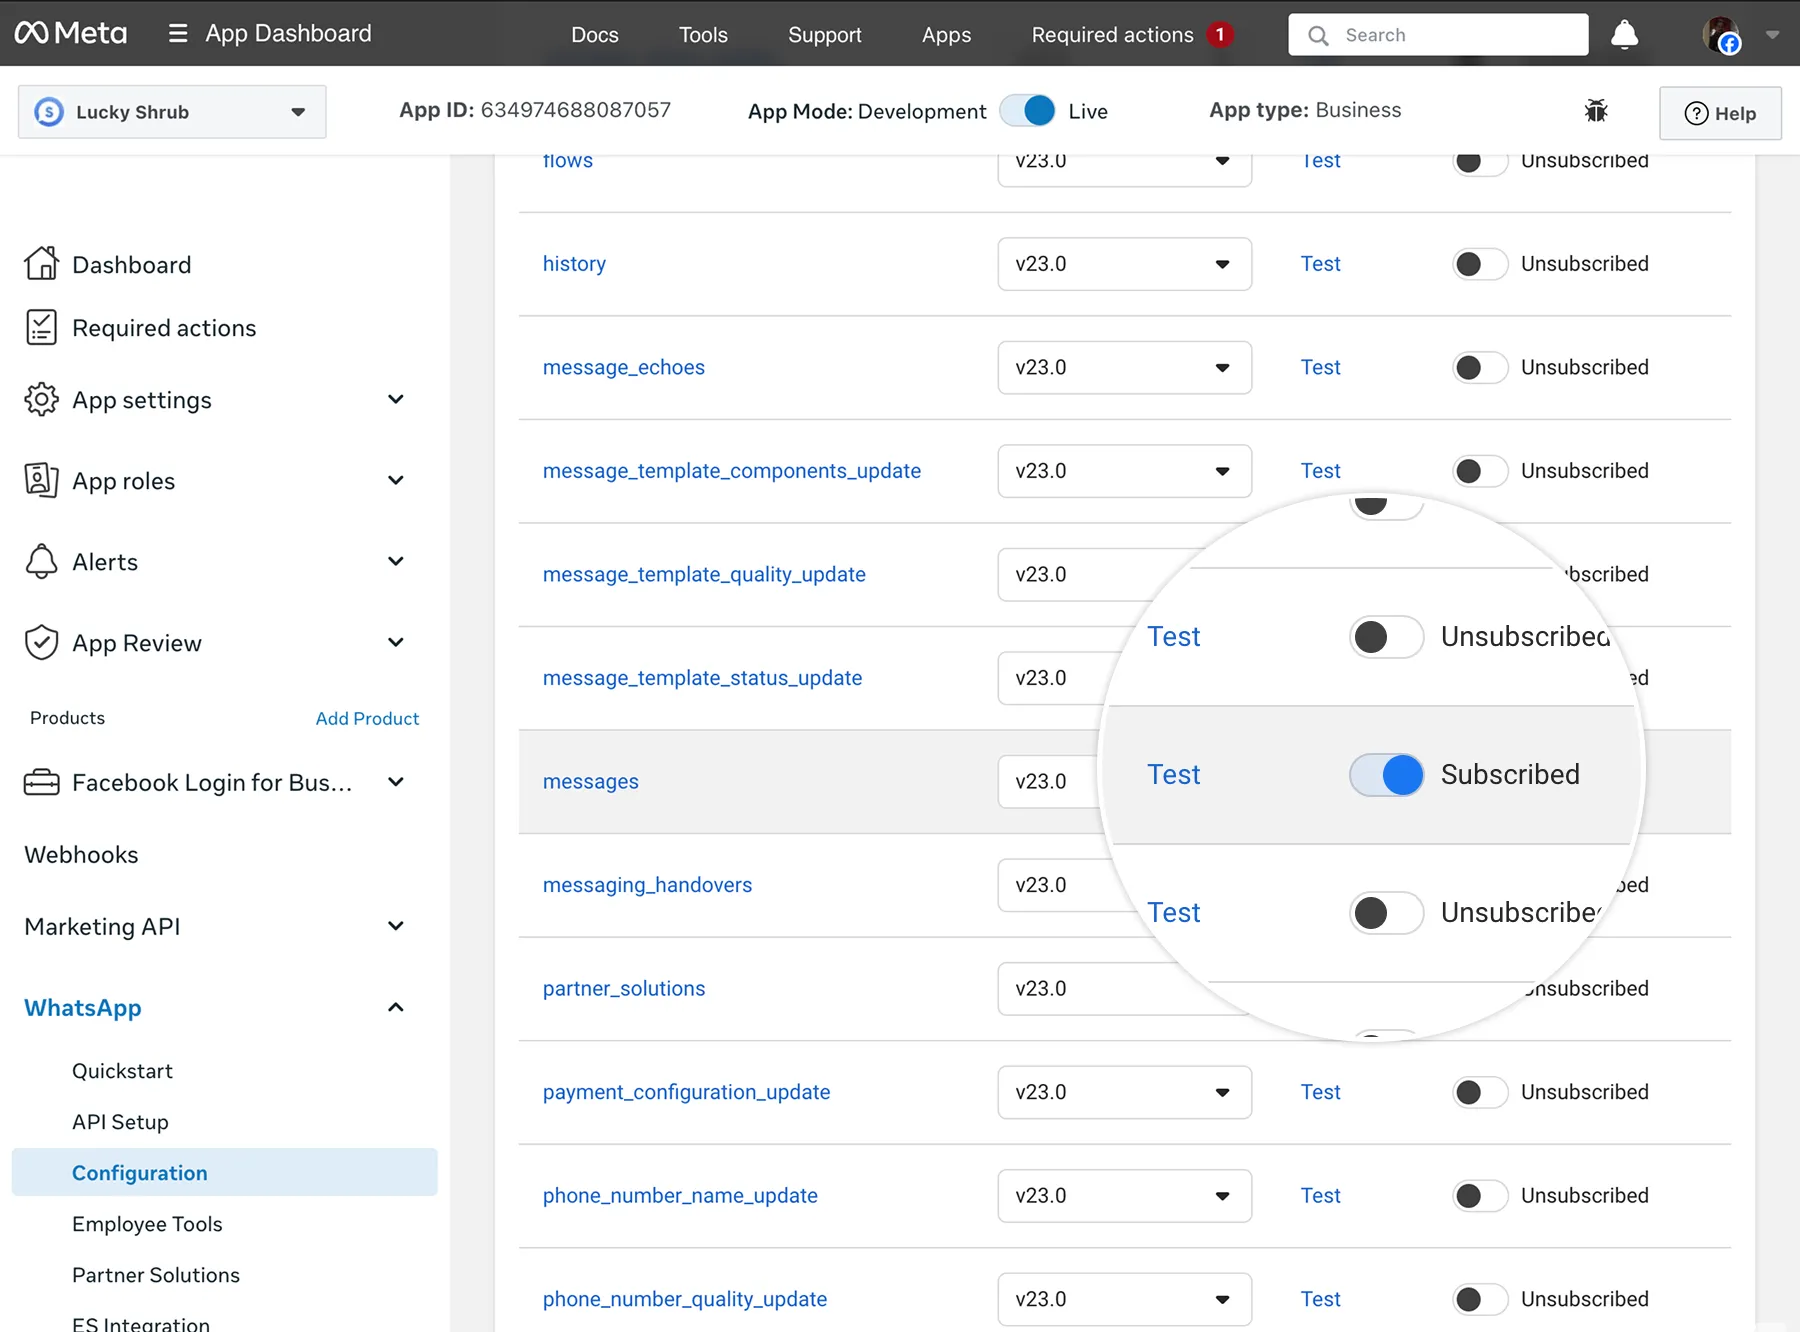
Subscribe to the messages webhook field if you haven’t already.
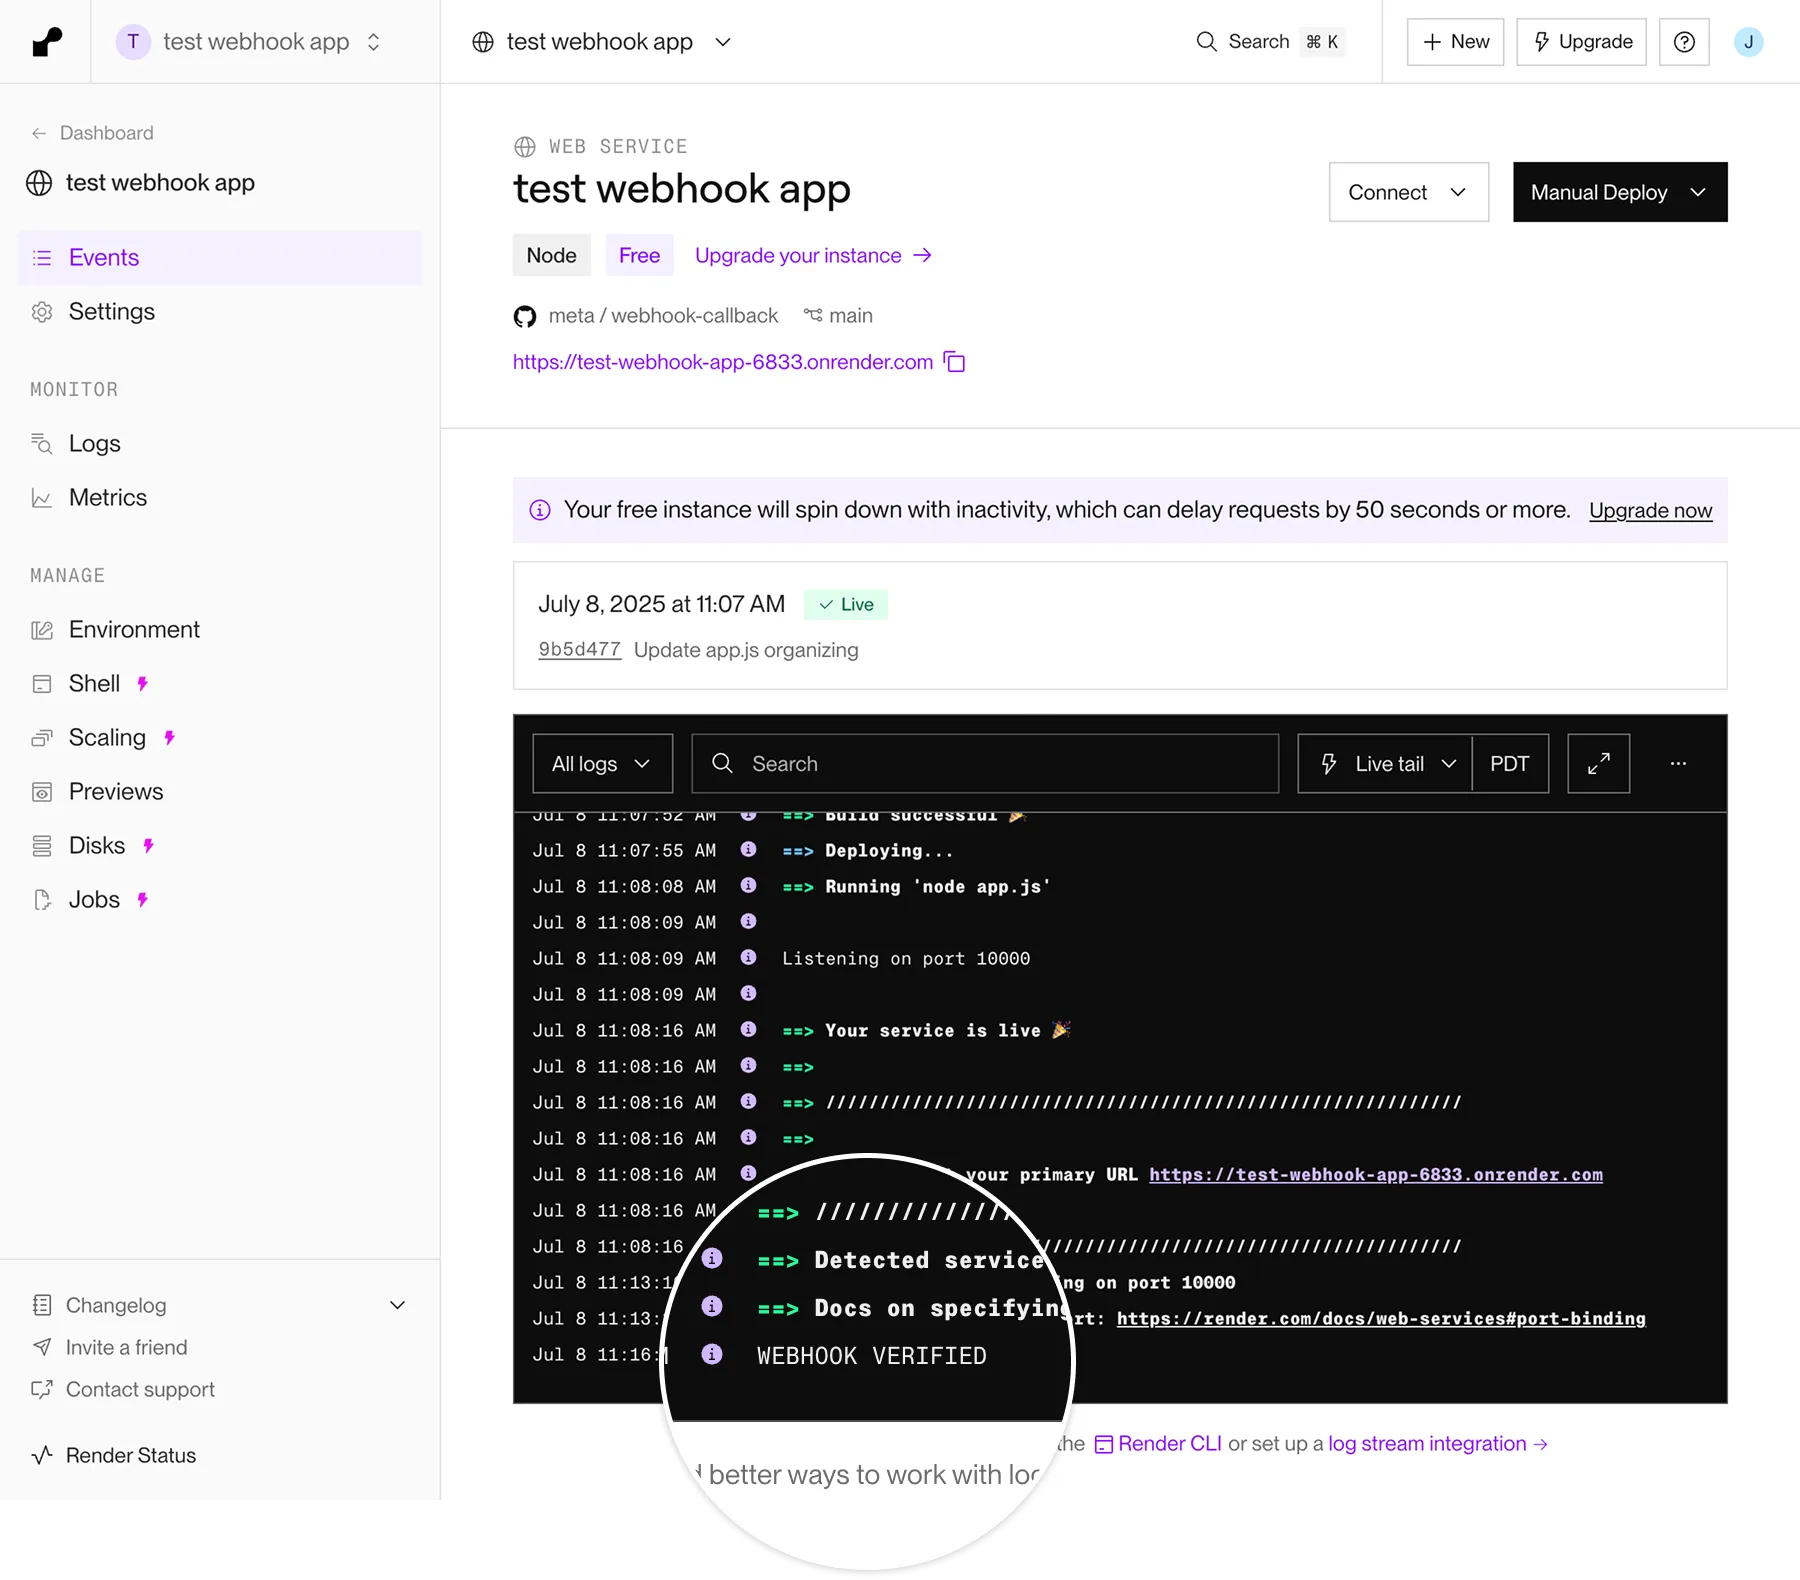
Also, in Render’s app log, if you see “WEBHOOK VERIFIED”, your test webhook app URL has been successfully verified.
Step 4: Send a test message
Back in the Meta app dashboard Configuration panel, scroll down to the messages webhook field, subscribe to the field if you haven’t already, then click the Test link.
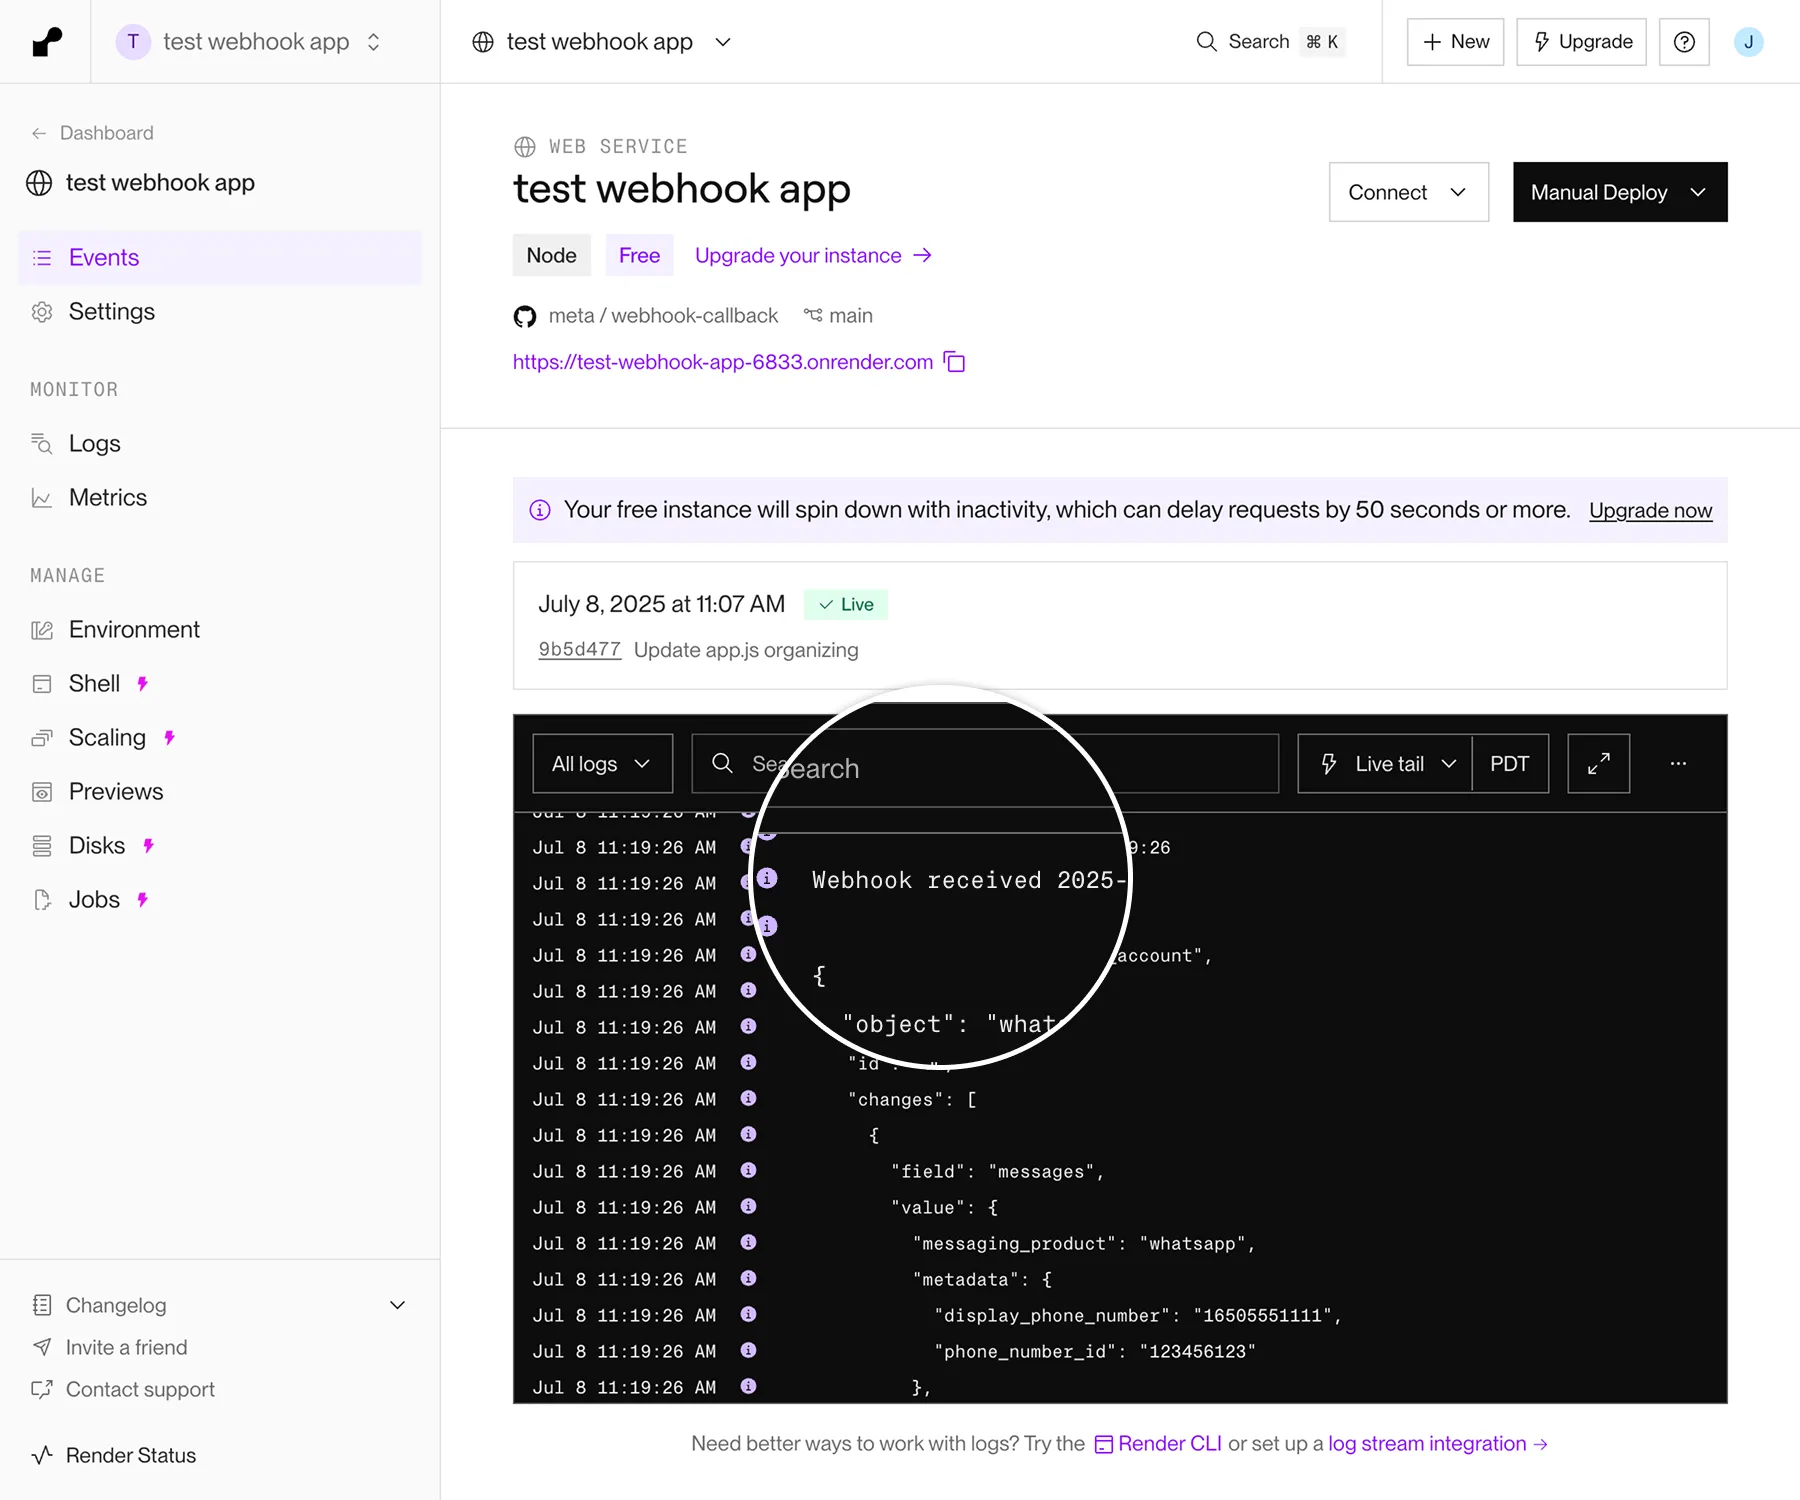
This will send a test message to your test webhook app. Confirm that it appears in Render app log with “Webhook received” followed by a test JSON payload:
Troubleshooting
If the test messages webhook doesn’t appear in the Render app dashboard log:
No comments to display
No comments to display