Create a webhook endpoint | Developer Documentation
Create a webhook endpoint
Updated: Nov 7, 2025
Learn about webhook requests and responses so you can set up and configure your own webhook endpoint on a public server.
Before you can use your app in a production capacity, you must create and configure your own webhook endpoint on a public server that can accept and respond to GET and POST requests, and that can validate and capture webhook payloads.
TLS/SSL
Your webhook endpoint server must have a valid TLS or SSL digital security certificate, correctly configured and installed. Self-signed certificates are not supported.
mTLS
Webhooks support mutual TLS (mTLS) for added security. See Graph API's mTLS for webhooks document to learn how to enable and use mTLS.
Note that enabling and disabling mTLS is not supported at the WABA or business phone number level. If you have more than one application accessing the platform, you will need to enable mTLS for each application.
GET requests
GET requests are used to verify your webhook endpoint. Anytime you set or edit the Callback URL field or the Verify token field in the App Dashboard, Meta will send a GET request to your webhook endpoint. You must validate and respond to this request.
Request parameters
| Placeholder | Description | Example value |
|---|---|---|
<CALLBACK_URL> |
Your webhook endpoint URL.
Add this URL to the Callback URL field in the App Dashboard when you configure webhooks later. |
https://www.luckyshrub.com/webhooks |
<HUB.CHALLENGE> |
A random string that Meta will generate. |
1158201444 |
<HUB.VERIFY_TOKEN> |
A verification string of your own choosing. Store this string on your server.
Add this string to the Verify token field in the App Dashboard when you configure webhooks later. |
vibecoding |
Validation
To validate GET requests, compare the
hub.verify_token value in the request to the verification string you have stored on your server. If the values match, the request is valid, otherwise it is invalid.Response
If the request is valid, respond with HTTP status
200 and the hub.challenge value. If the request is invalid, respond with a 400-level HTTP status code, or anything other than status 200.When you configure webhooks, Meta will send a GET request to your webhook endpoint. If it returns status
200 and the hub.challenge value included in the request, Meta will consider your webhook endpoint verified, and begin sending you webhooks. If your webhook endpoint responds with anything else, however, Meta will consider your webhook endpoint unverified, and webhooks will not be sent to your endpoint.Configure webhooks
Once you have created your webhook endpoint, navigate to the App Dashboard > WhatsApp > Configuration panel, and add your webhook endpoint URL to the Callback URL field, and your verification string to Verify token field.
Note that if you created your app using the Connect with customers through WhatsApp use case, navigate to App Dashboard > Use cases > Customize > Configuration instead.
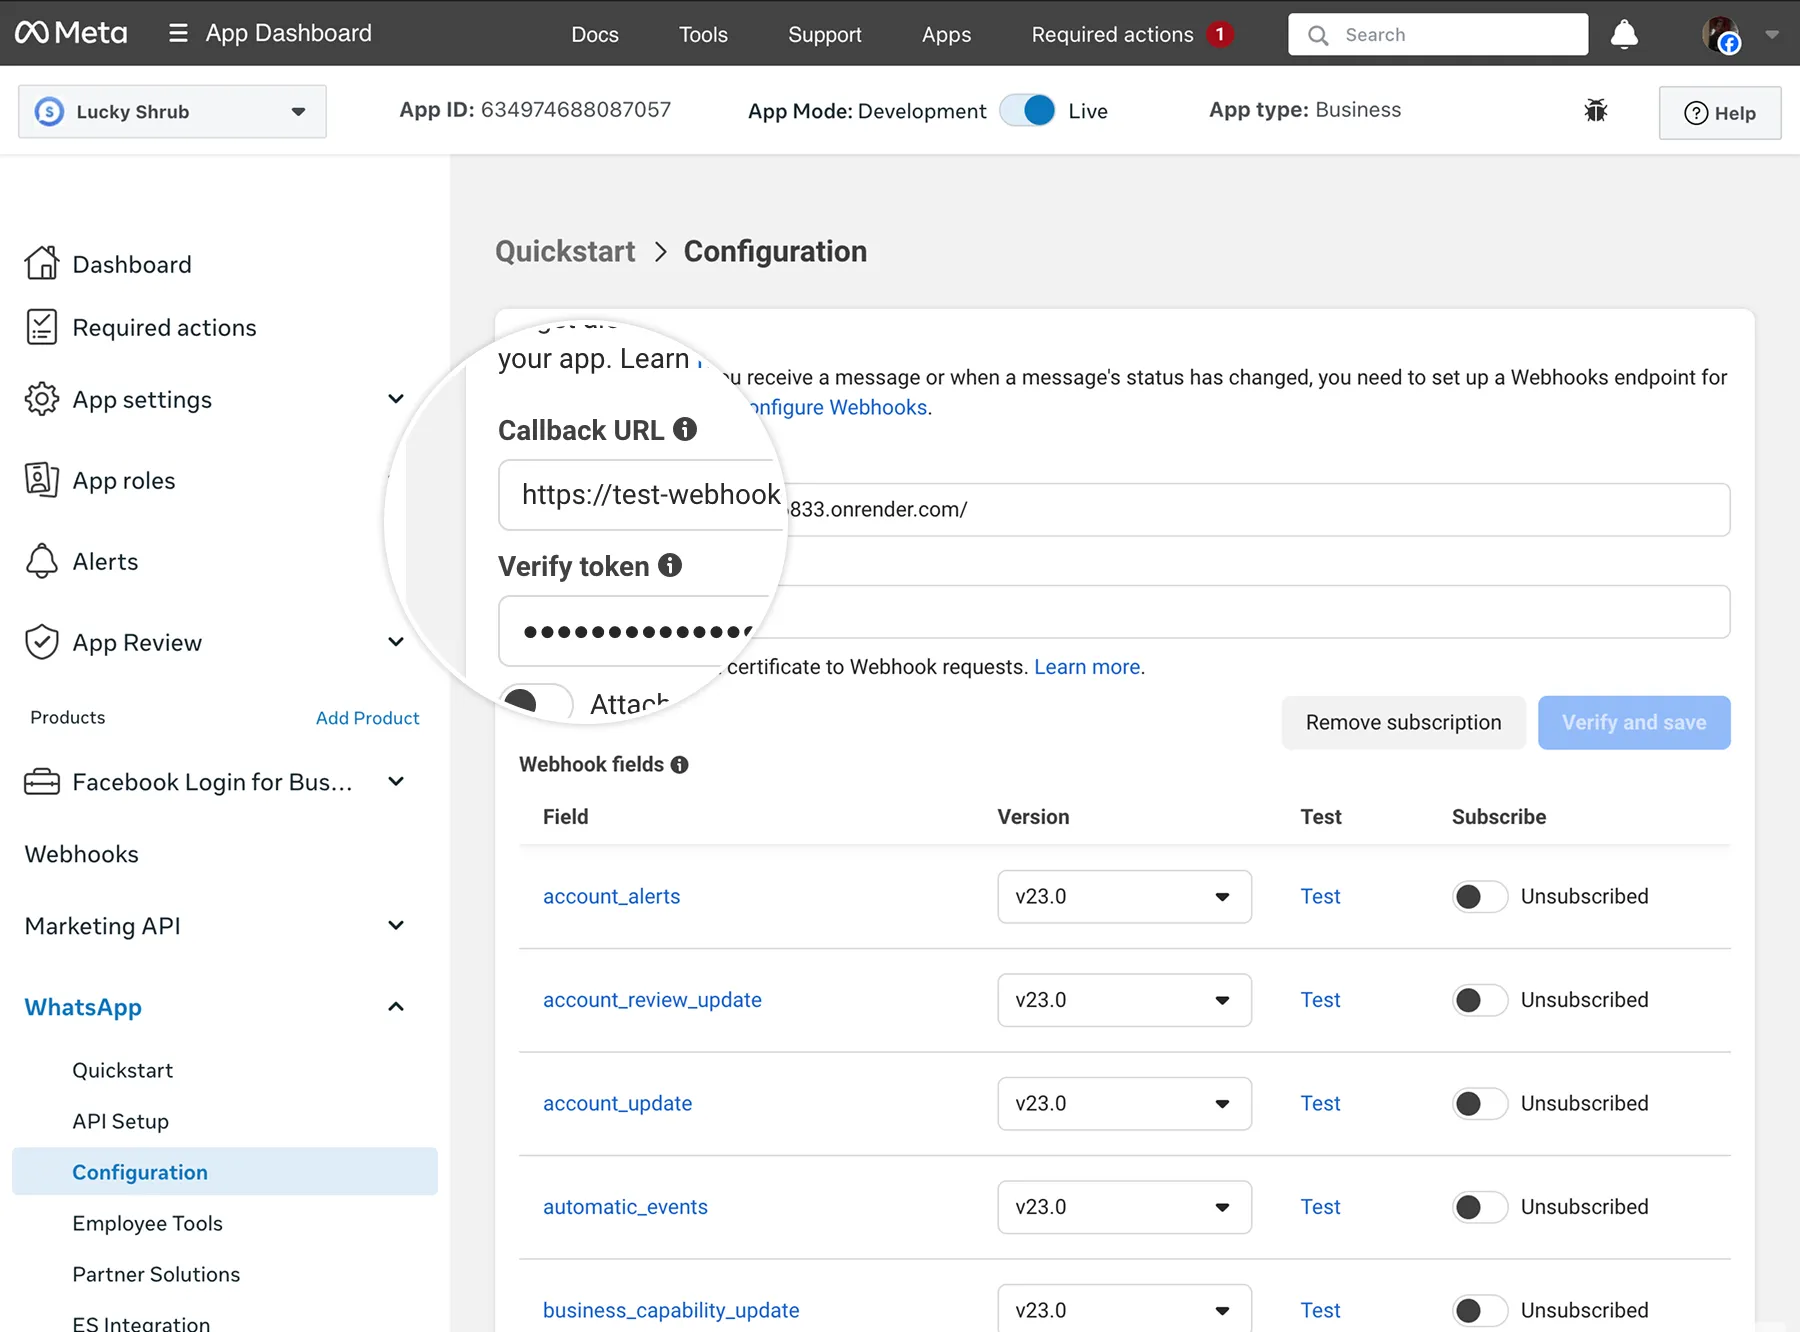
If your webhook endpoint is responding to webhook verification GET requests properly, the panel will save your changes, and a list of fields you can subscribe to will appear. You can then subscribe to any fields that fulfill your business needs.
Note that you can use the POST Application Subscriptions endpoint to configure webhooks as an alternative method, but it requires the use of an app token. See Graph API's Subscriptions edge document to learn how to do this, and use whatsapp_business_account as the object value.