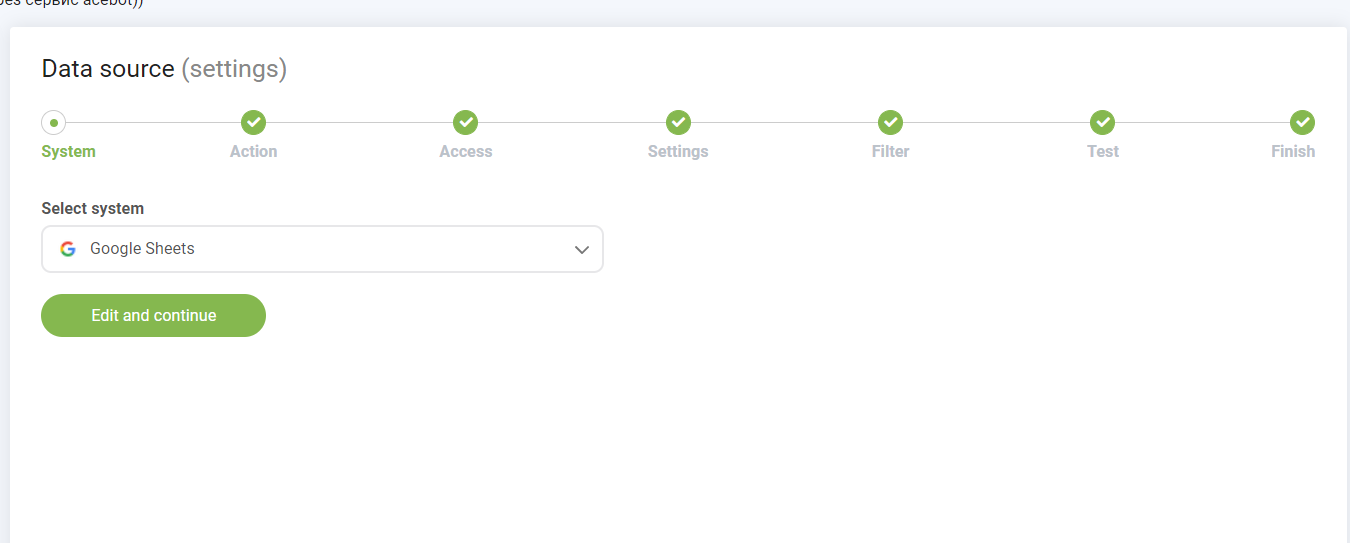
1. After registering in Apix-Drive, proceed to setting up the Connection.
Choosing Google Sheets
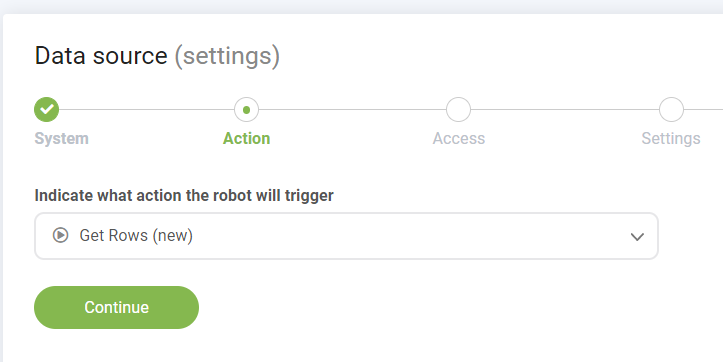
2. In the "Action" select Get rows (new), apix will work on adding a new row to the table
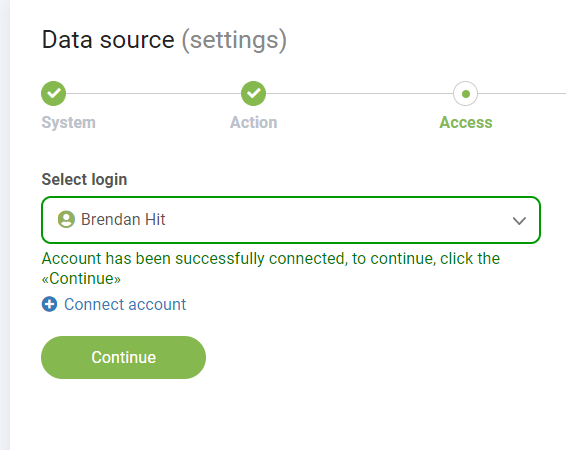
3.In the "Access" tab, select the desired Google account
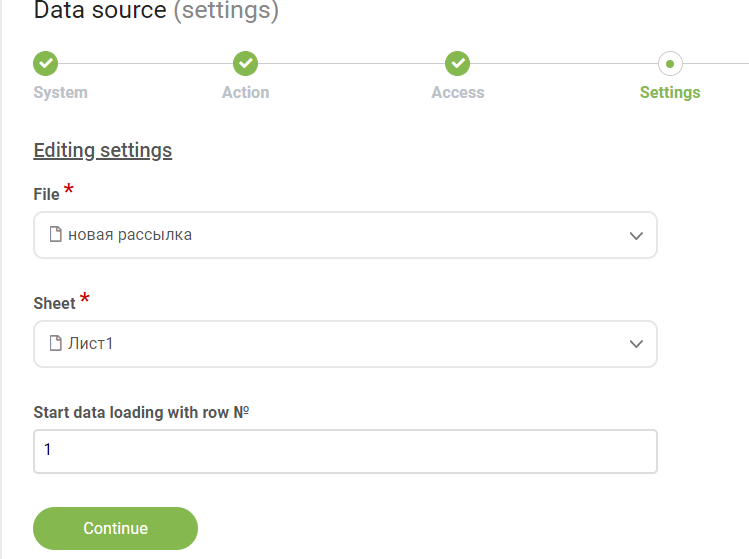
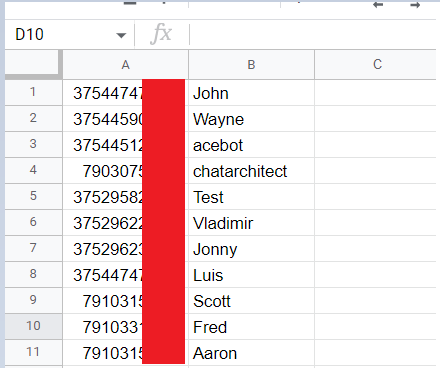
4.In the "Settings" we specify the table necessary for mailing and the number of the line from which the mailing will take place
5.In the "Filter" settings, select the columns that will be used for mailing
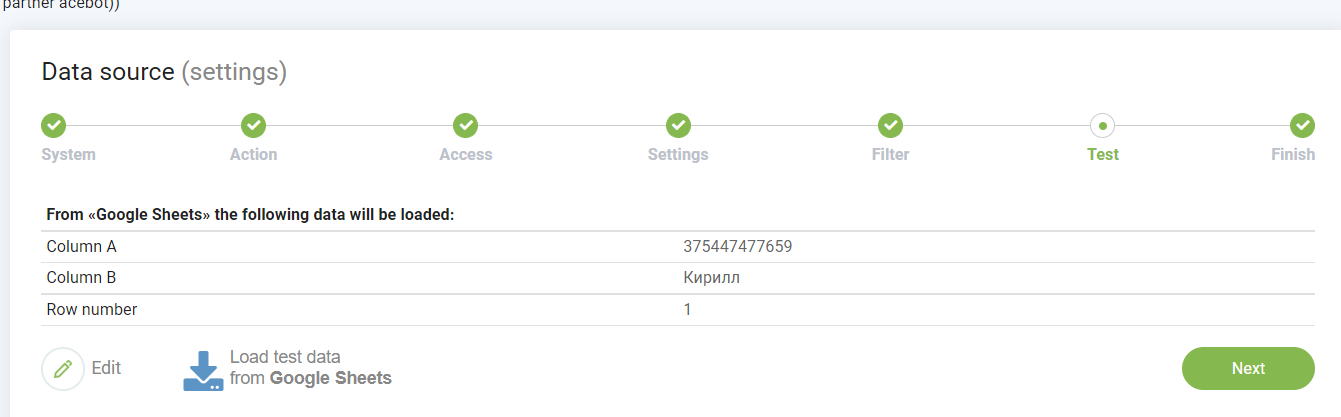
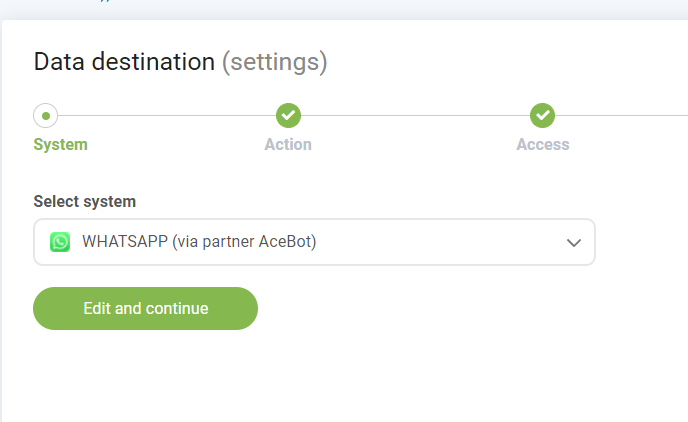
6. After completing the "Data Source" setting, proceed to the "Data Destination" setting
Choose our integration
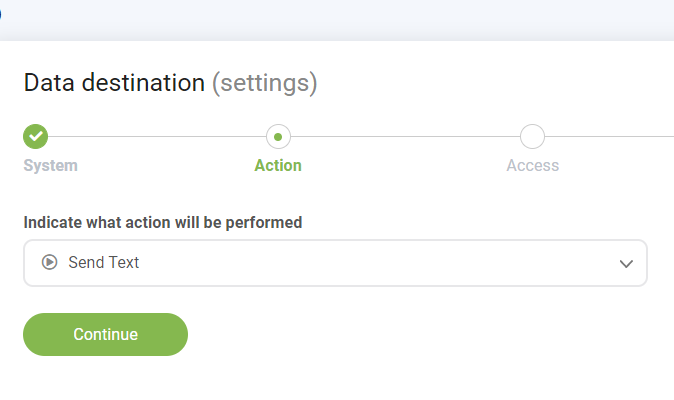
7. Choose which action will be performed. In our case, this is "Send text"
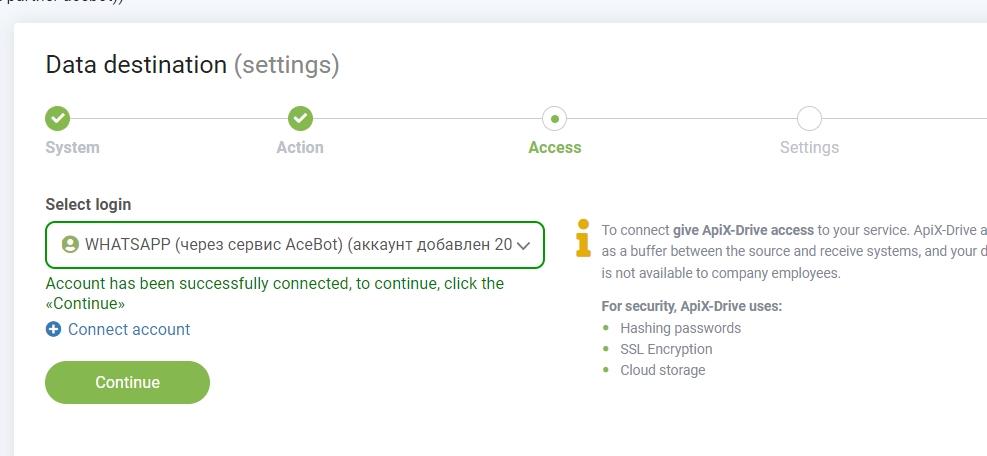
8. In "Access" you need to choose you ChatArchitect.com account ( you need to write your APP ID and APP SECRET)
9.Choose recipients

10.Finishing the setup and making a test send to your test number. If messages reached your test numbers successfully, you can turn on auto update and add number in you Google Sheets

Apix will work on new numbers within 15 minutes