Verification of Facebook Business Manager
How to create Facebook Business Manager
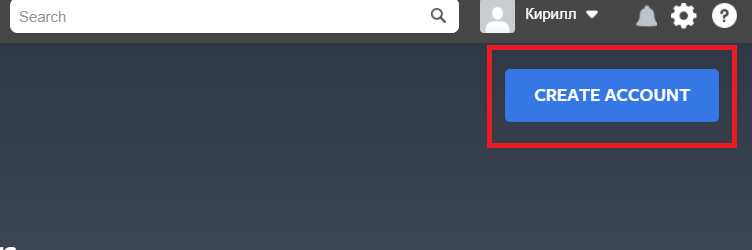
1. Log into your personal Facebook account and create a Business Manager account, follow the link https://business.facebook.com/overview and click the “CREATE ACCOUNT” button, a window for entering company data will open.
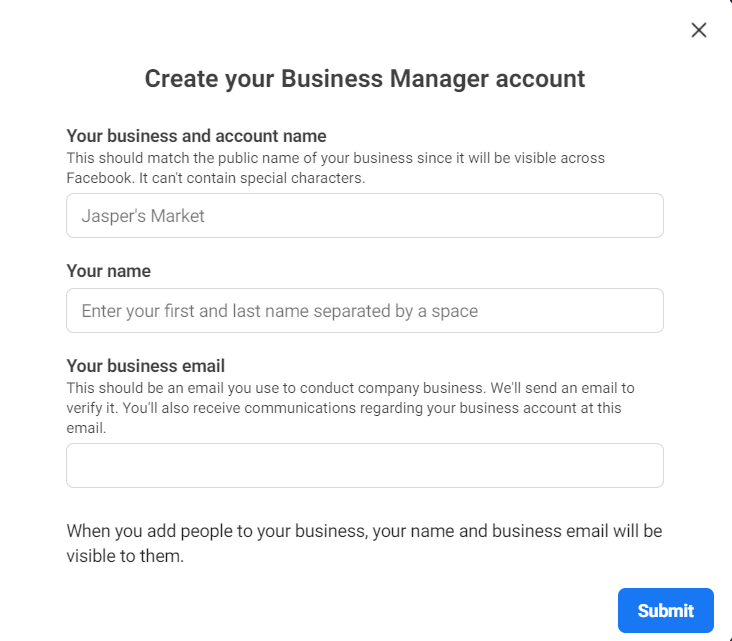
Enter the company name, first and last name, e-mail, using the hints above the fields, and click the "Submit" button.
2. Activating the “Start Verification” Button in Facebook Business Manager
By default, the button to start company verification in Facebook Business Manager is disabled. To make it active, follow the steps below.
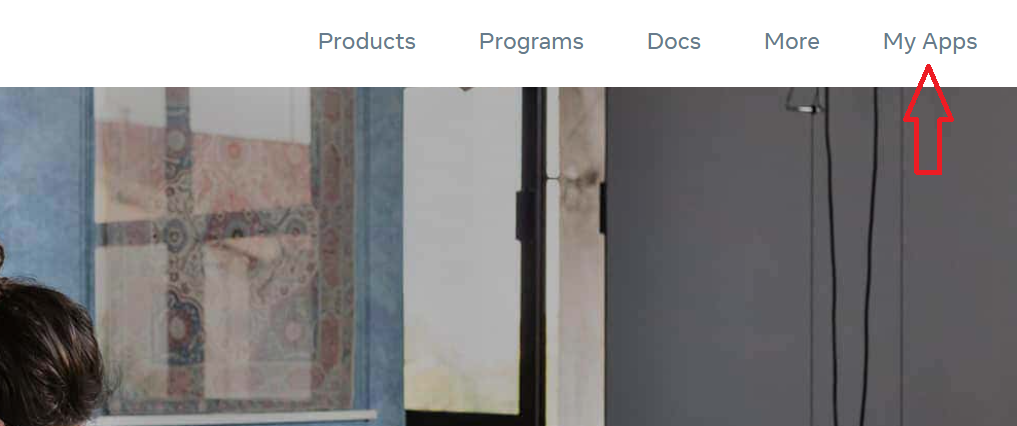
1.Go to https://developers.facebook.com. To do this, click on the “Get Started” button "My apps" in the top menu.
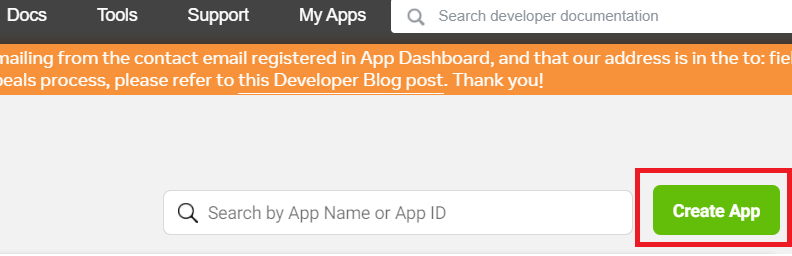
2. "Create app"
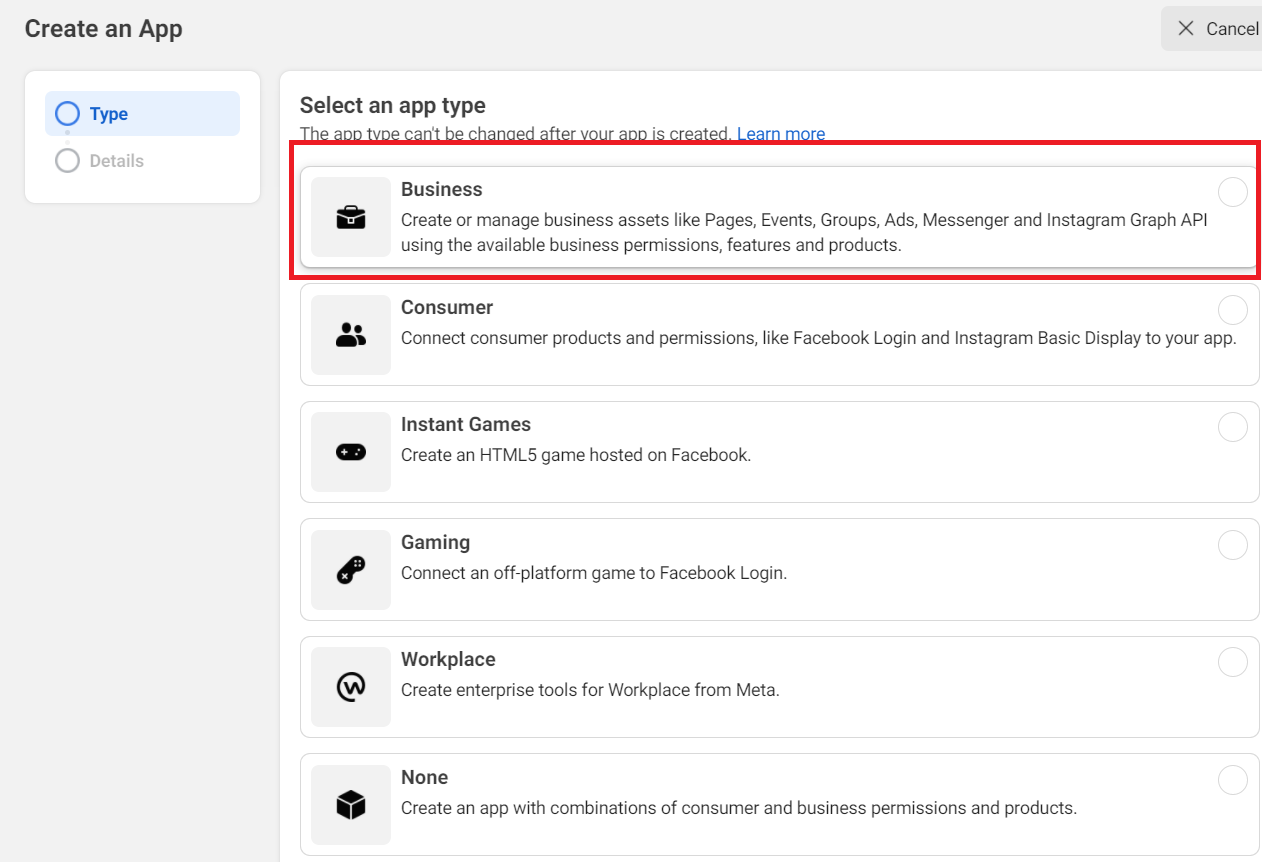
3. Choose "Business"
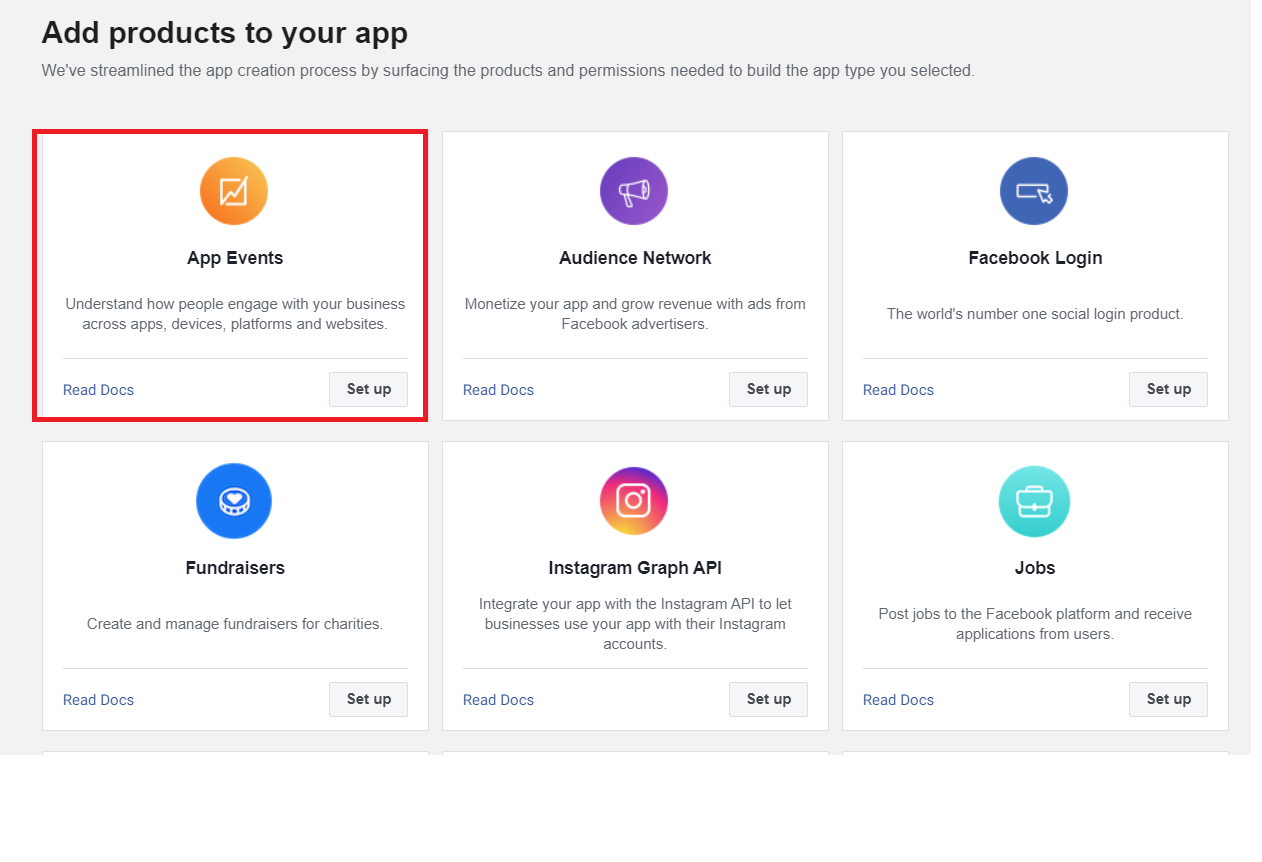
4. Choose "App Events"
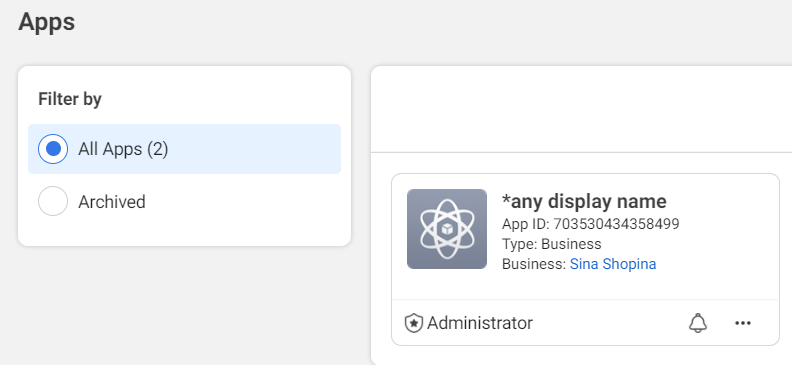
5. App created:
If the button is not active after creating the app, please write to us and we will send an activation request