# Usedesk
## WhatsApp Business ConnectingOnce Facebook has verified you, then you can start setting up a channel in Usedesk.1. Create a chat channel or use an existing one. Copy the chat id in the channel settings.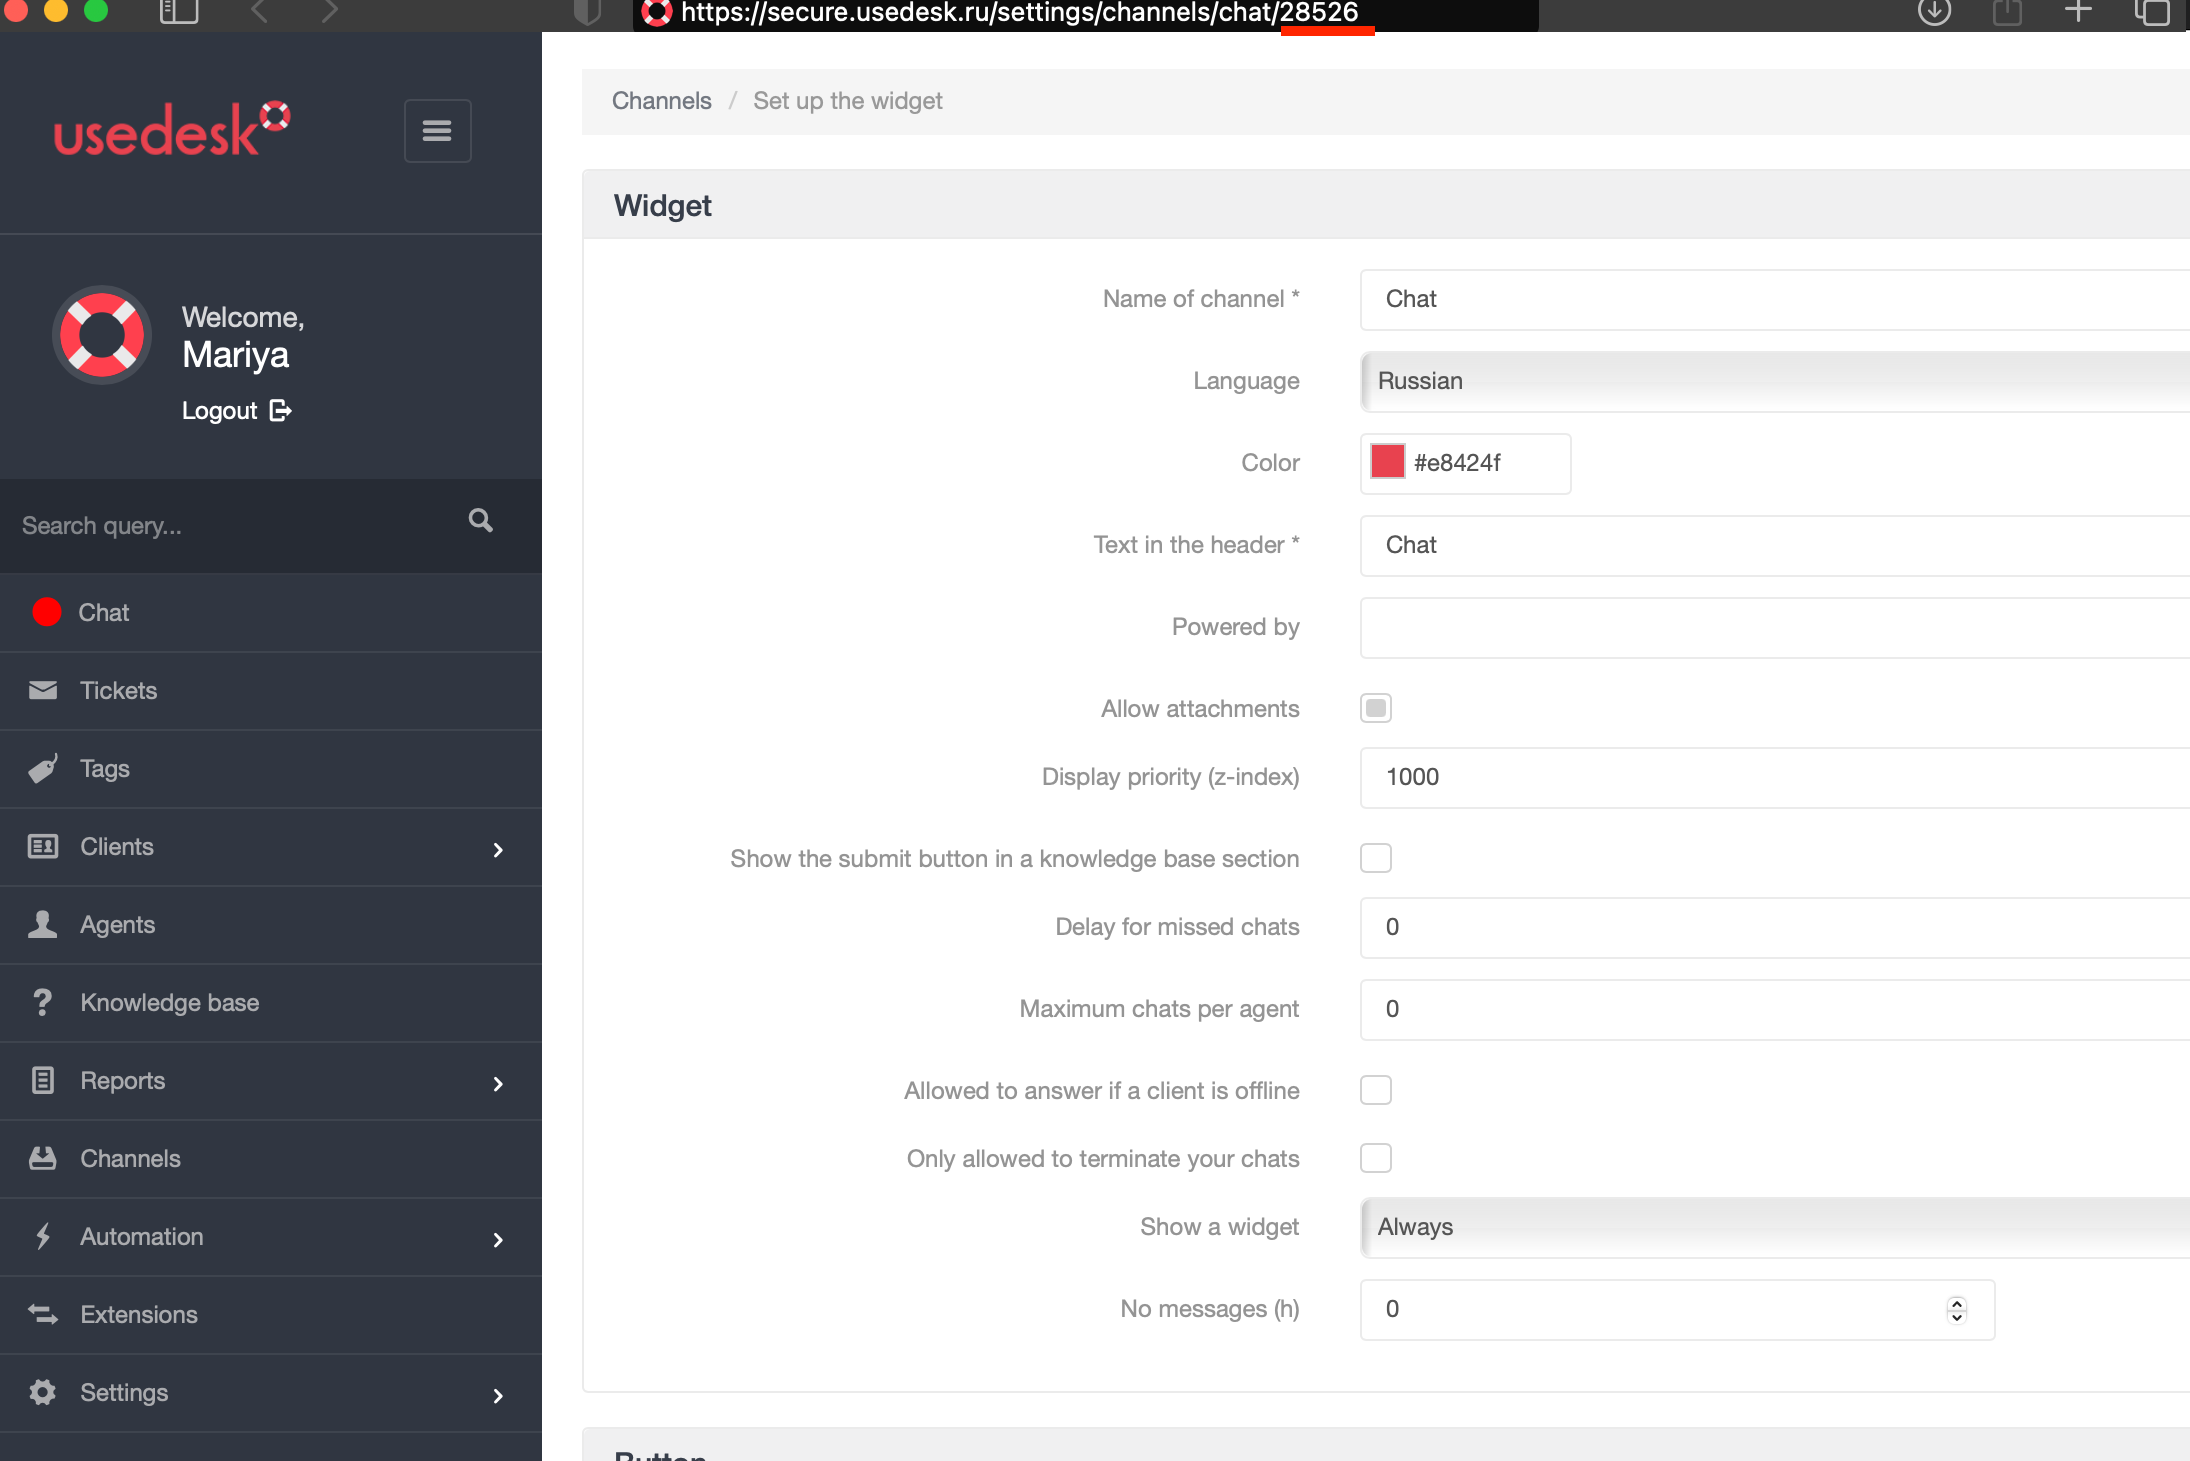2. Go to the "Channels" - "API" section, click "Add".
3\. After adding a channel, four configuration blocks appear on the page, in which you need to fill in the required fields:
- Channel name – enter the name of the channel, which will be displayed in the general list of channels in the "Channels" section;
- Redirect URL - your webhook, which ChatArchitect employees will provide after connecting the WhatsApp Business API (verification passing)
- JSON request – check the box to convert the request to JSON format;
- Send in UTF-8 – check the box to send a ticket in this format;
- Track Channels – Move to the right column those Usedesk channels through which this API channel should track events. In this case, this is the chat channel from item 1;
- Block "Tracking chats" – check the "All messages chat" checkbox.Click "Save". After saving the settings, copy the secret key. 4. Transfer the data to the ChatArchitect employee for configuration on their part:
- API channel secret key (item 3)
- Chat channel identifier (item 1)After the ChatArchitect employee sets up on their part, you will receive confirmation, then you can safely check the work of the channel.
## Using WhatsApp Business**1. Processing incoming requests**Customers can write to the phone number you connected. The message from the client goes to the "Chats" section and the "Tickets" section. Respond from any section to a customer message.Tickets:Chats: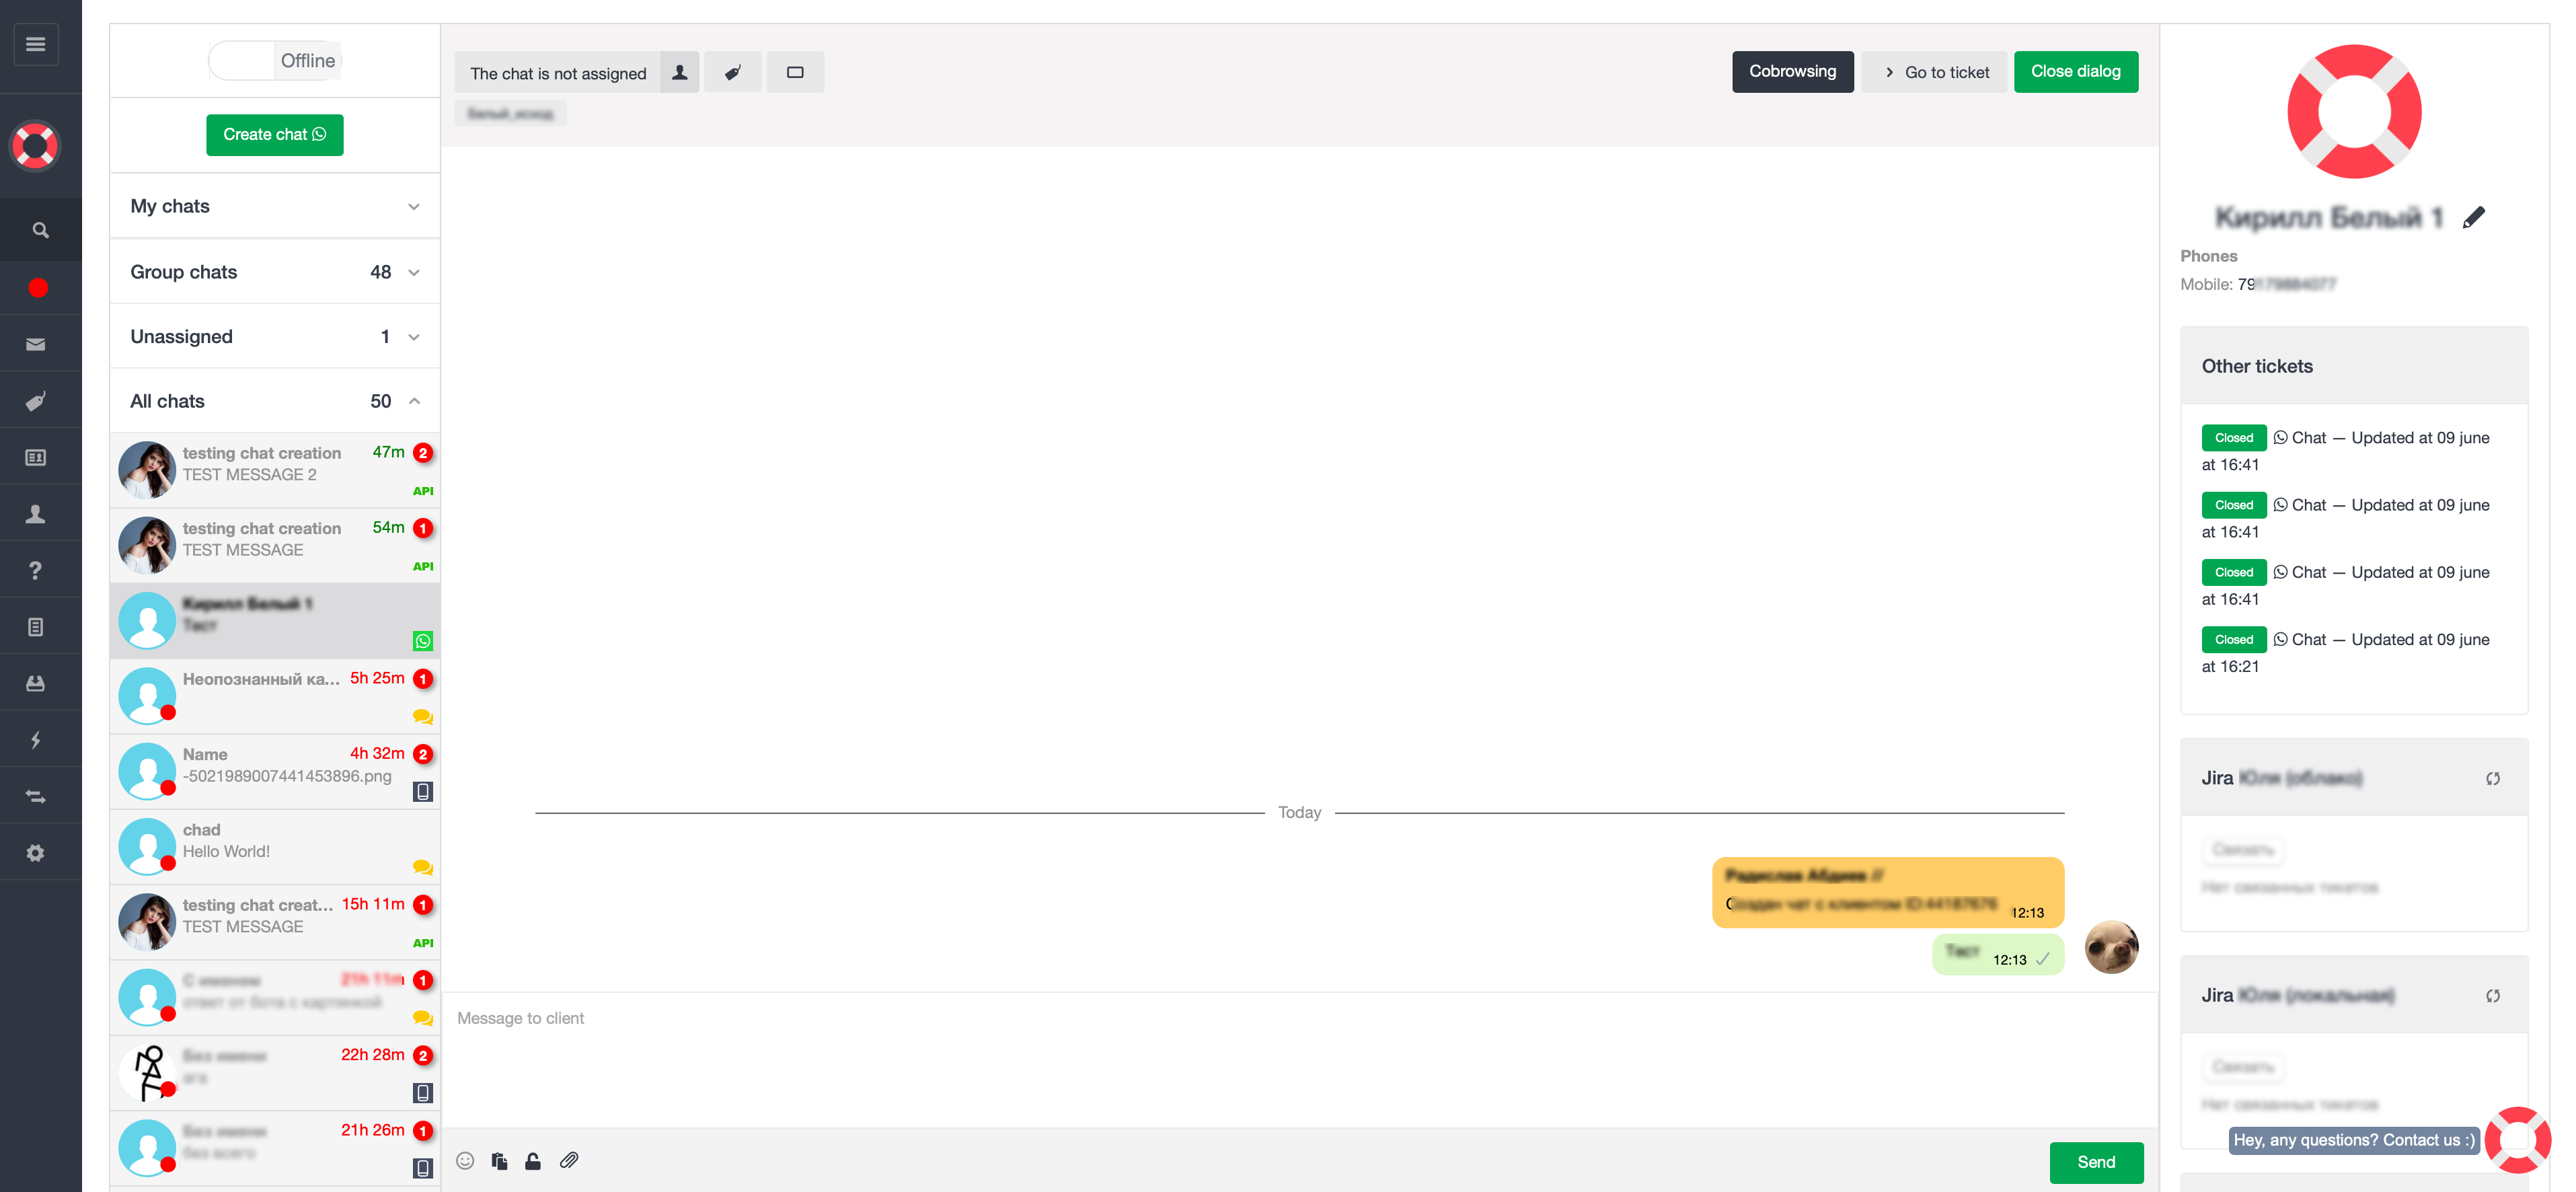
Please keep in mind the 24-hour window for standard correspondence when replying to a message.If 24 hours have passed since the client's last message, you will need to use a pre-agreed template with ChatArchitect to respond. Copy the template text and paste it into the field for sending a message. The template can contain variables that you can edit